How to Properly Manage Your Netlify Deployments on macOS
September 1, 2025

Managing your website deployments should be simple. You push your code. Netlify builds it. Then it goes live. That’s how it should work. But for many developers, it’s not that smooth.
You often end up opening a browser, logging into the Netlify dashboard, digging into deploy logs, or typing into the terminal just to know if your site is up. It takes time. It breaks your focus. And let’s be honest: macOS doesn’t offer a native way to check your Netlify deployment status from your desktop.
So, developers have built their own solutions. In this post, we’ll go over the main ways to monitor your Netlify deployments on macOS—including a simple app called Netlify Deploy Status that sits in your menu bar and shows your site status using one small color dot.
Let’s break them down.
1. The Netlify Dashboard (Web)
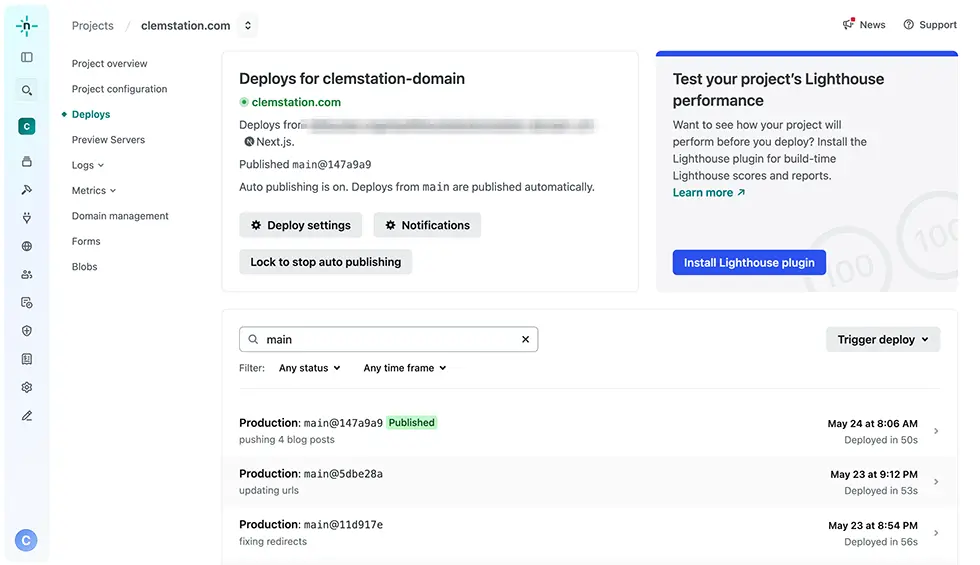
The official way. You go to app.netlify.com and log in. From there, you can see your sites, your deploy history, logs, settings, and more.
Pros:
- You see everything in one place
- No need to install anything
- Good for digging into errors
Cons:
- You need to log in
- It’s slow for quick checks
- Easy to get distracted with other tabs
- Doesn’t sit on your desktop
This works fine for full control, but it’s not ideal for quick updates.
2. Netlify CLI (Terminal)
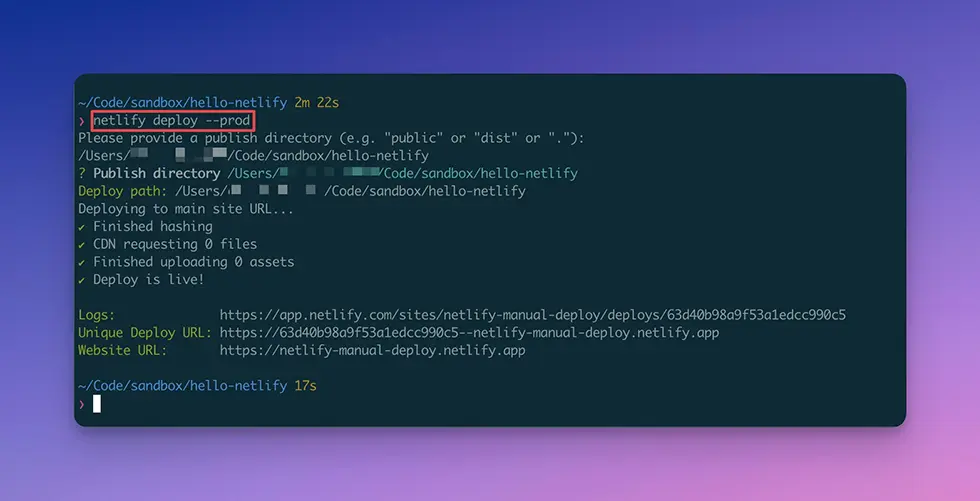
Netlify offers a command-line tool. It’s powerful if you like using the terminal.
Pros:
- Good for advanced users
- Works well with automation and CI/CD
- Can deploy or check status without browser
Cons:
- Not user-friendly
- No visual feedback
- You need to open the terminal every time
If you're a developer who lives in the terminal, this might work for you. But for most people, it’s too much work for something that should be simple.
3. Netlify Menu Bar
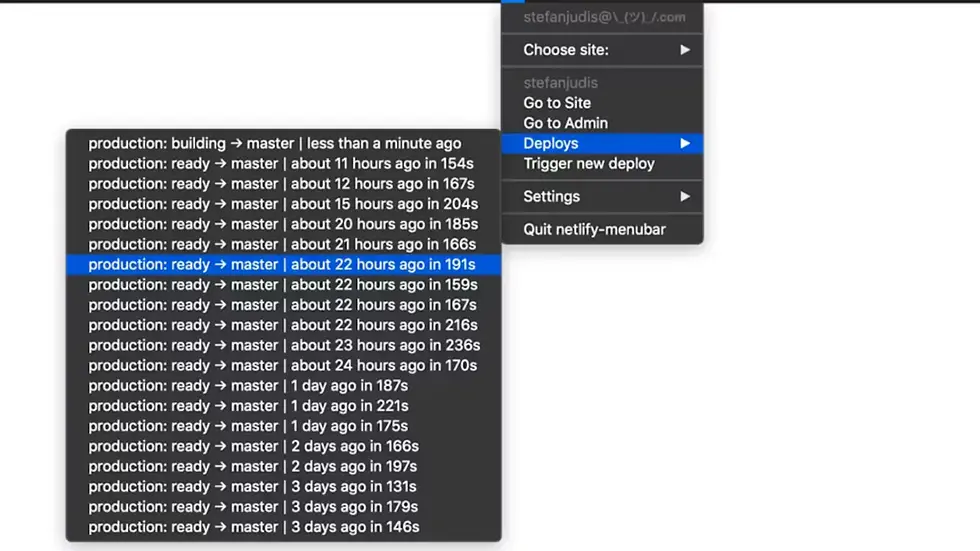
Some apps put your Netlify deploy status right in your Mac’s menu bar. One of them is Netlify Menubar
Pros:
- Always visible in the menu bar
- Easier than logging into dashboard
- Often work for multiple services
Cons:
- Many are bloated or confusing
- Some are not accurate or slow
- Setup is not always clear
- Design can be cluttered
These tools try to do a lot, but often lose focus. You don’t always need all those features. Sometimes you just want to know: Is my site live or not?
4. Netlify Deploy Status (macOS App)

This is a simple app made for macOS. It checks your current Netlify deploy and shows the status with a small colored dot in your menu bar:
- 🟢 Green: deploy is live
- 🟠 Orange: currently deploying
- 🔴 Red: deploy failed
- ⚪ Gray: no connection / not found
That’s it. No extra steps. No setup required in most cases. It auto-detects your latest deploy and shows the status in real-time.
Pros:
- Simple, clear design
- No distractions
- Auto-detects deploys (no config needed)
- Perfect for quick checks
- Made for Mac menu bar
Cons:
- Shows status only (no logs or details)
- Focuses on one site/account
This app is made for developers who care about speed and simplicity. You don’t need to open anything. You don’t need to click anything. Just look at your menu bar.
📥 Download Netlify Deploy Status
5. Combine Tools for the Best Setup
You don’t need to pick just one. You can combine tools for the best workflow:
- Use Netlify CLI for scripts and deploys
- Use the Netlify Dashboard to check logs and history
- Use Netlify Deploy Status to keep a quick eye on your deploys from your desktop
This way, you get both full control and fast feedback.
Final Thoughts
Checking your deployment status shouldn’t feel like work. You shouldn’t have to open tabs, type commands, or wait for pages to load just to know if your site is live.
Apps like Netlify Deploy Status solve that. One small dot in your menu bar tells you what’s going on, instantly.
If you care about productivity and keeping your focus, this kind of tool is a must-have. Try it and see how much smoother your workflow becomes.